Build your candidate profile
Add work experience, education and skills to your CVizza candidate profile, see what is copied into a CV, and learn how to fill it in gradually.
Your candidate profile is the place where you keep your career details once, so you do not have to retype them for every CV. This guide shows how to add your experience, education and skills, which information CVizza uses when you create a CV, and why you can fill the profile in gradually.
What the candidate profile is for
The profile holds reusable source data: your contact details, a short summary, and entries for work experience, education, skills, languages, certifications and projects. When you start a CV, CVizza copies this information into a new draft that you can tailor for a specific role. You do not need a complete profile to begin. Add what you have today and come back to it later.
If you have not used the workspace yet, the Getting started guide shows the whole route from profile to tracked application.
Start with the basics
- Log in and select Candidate Profile in the sidebar.
- Check your First name and Last name. They may already be filled in from your account. Your candidate name can differ from your account name.
- Add a Professional headline, for example "Junior Data Analyst".
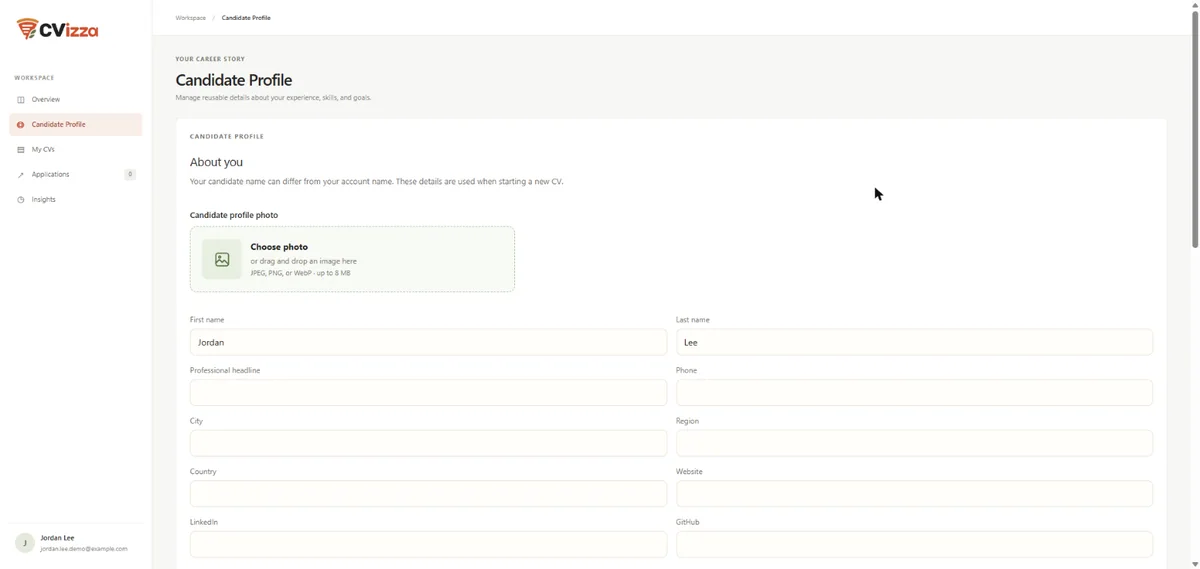
- Fill in the contact fields you want to share, such as Phone, City, Region and Country, and the links Website, LinkedIn, GitHub and Portfolio. Leave any field blank if it does not apply.
- Write a few sentences in About you. Use the visual editor, or switch to Markdown source if you prefer to type Markdown.
- Select Save profile. Until you do, the form shows Discard profile changes so you can undo your edits.
You can also add a profile photo (JPEG, PNG or WebP, up to 8 MB). It is optional.
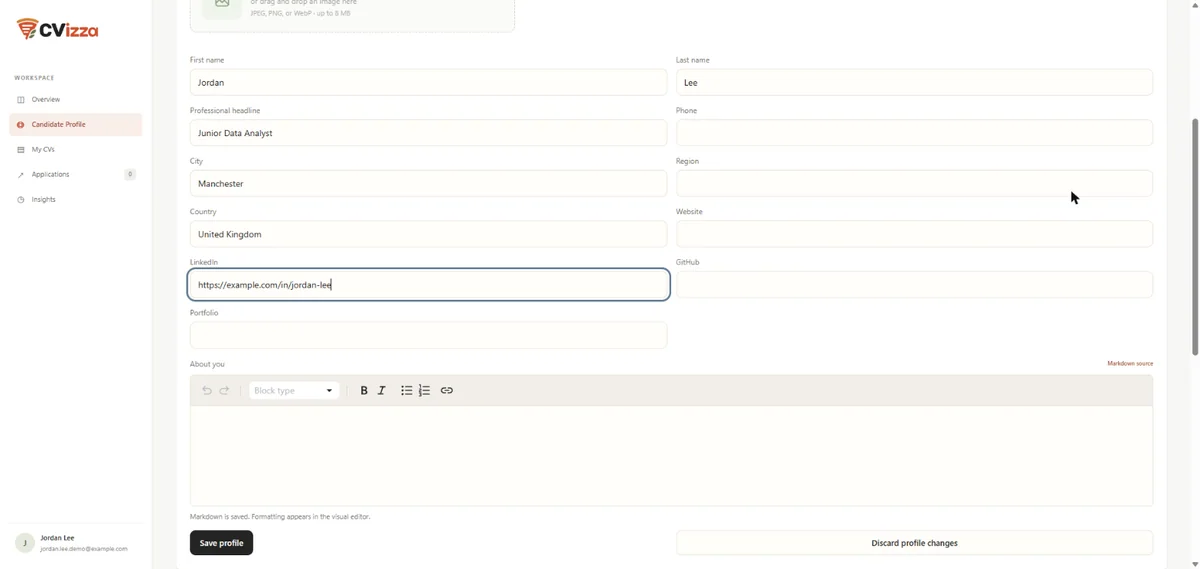
After saving, scroll down. Work experience, education, skills, languages, certifications and projects each have their own section with an add button. Empty sections are normal at this stage.
Add your education
Education is a good first entry if you are early in your career.
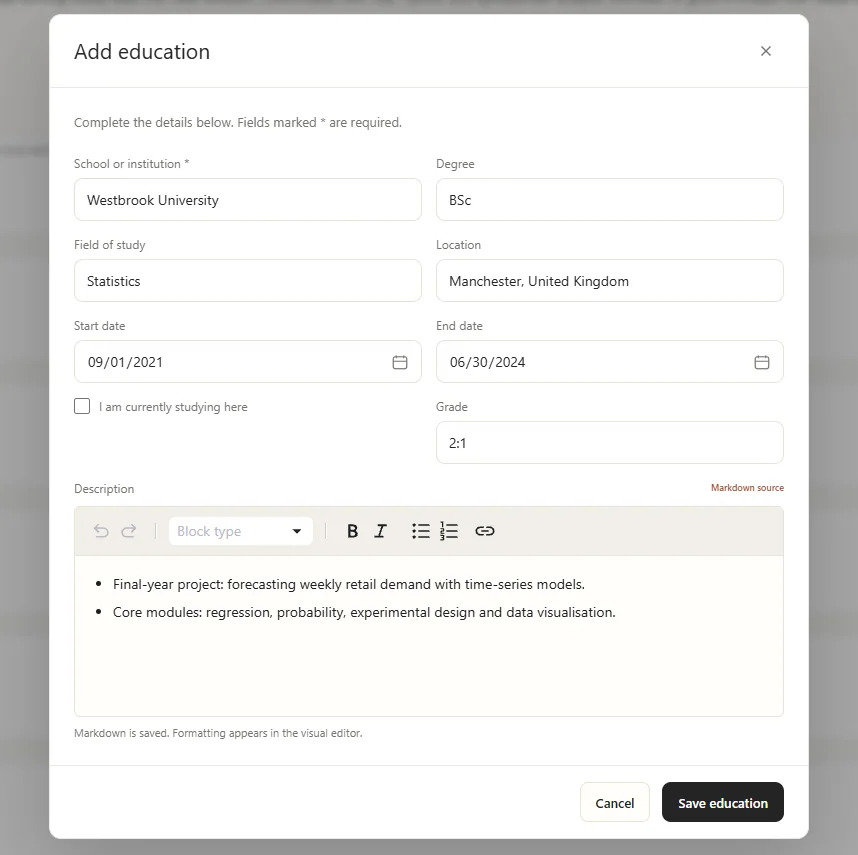
- In the Education section, select Add education.
- Enter the School or institution. This is the only required field.
- Add the Degree, Field of study, Location, Start date and End date if you want them on your CV. Tick I am currently studying here if you have not finished.
- Add a Grade and a Description. Bullet points work well for projects or key modules.
- Select Save education.
Add your skills
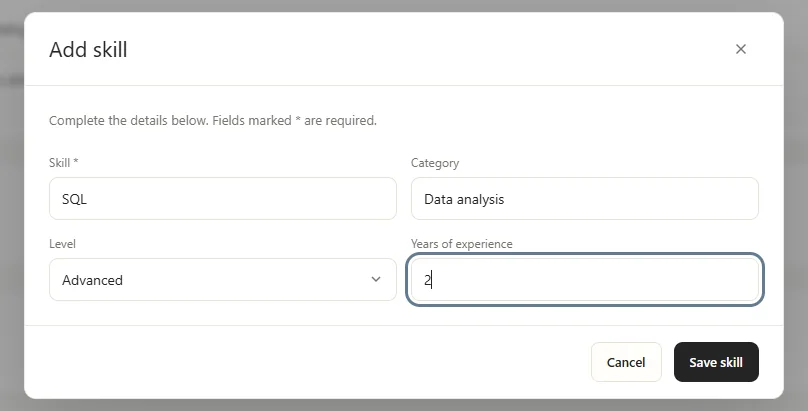
- In the Skills section, select Add skill.
- Enter the Skill name. It is required.
- Optionally add a Category, a Level (Beginner, Intermediate, Advanced or Expert) and Years of experience.
- Select Save skill.
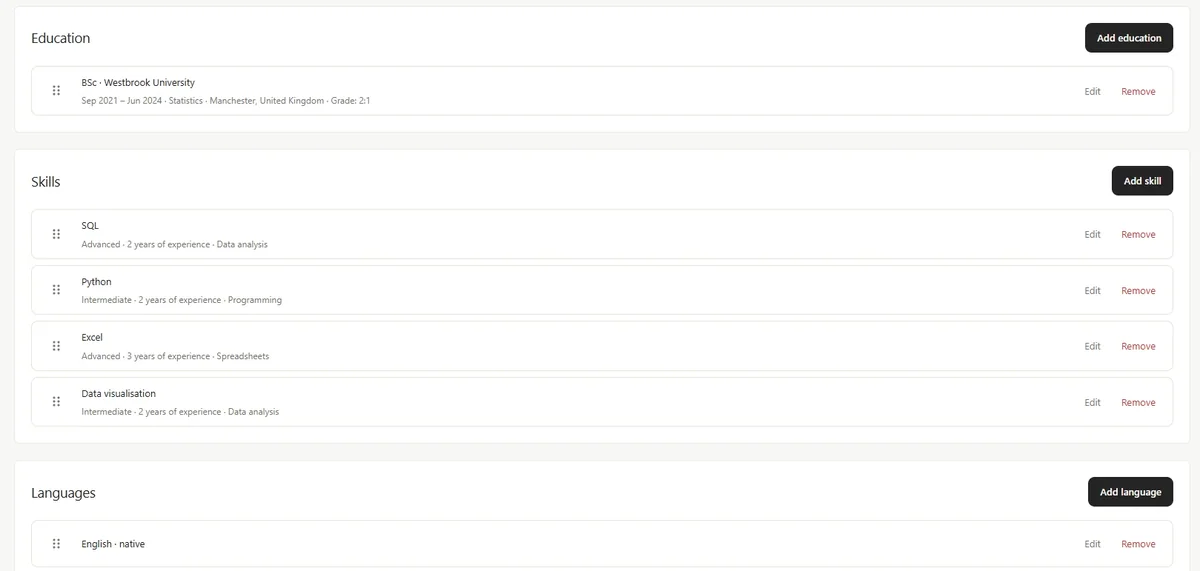
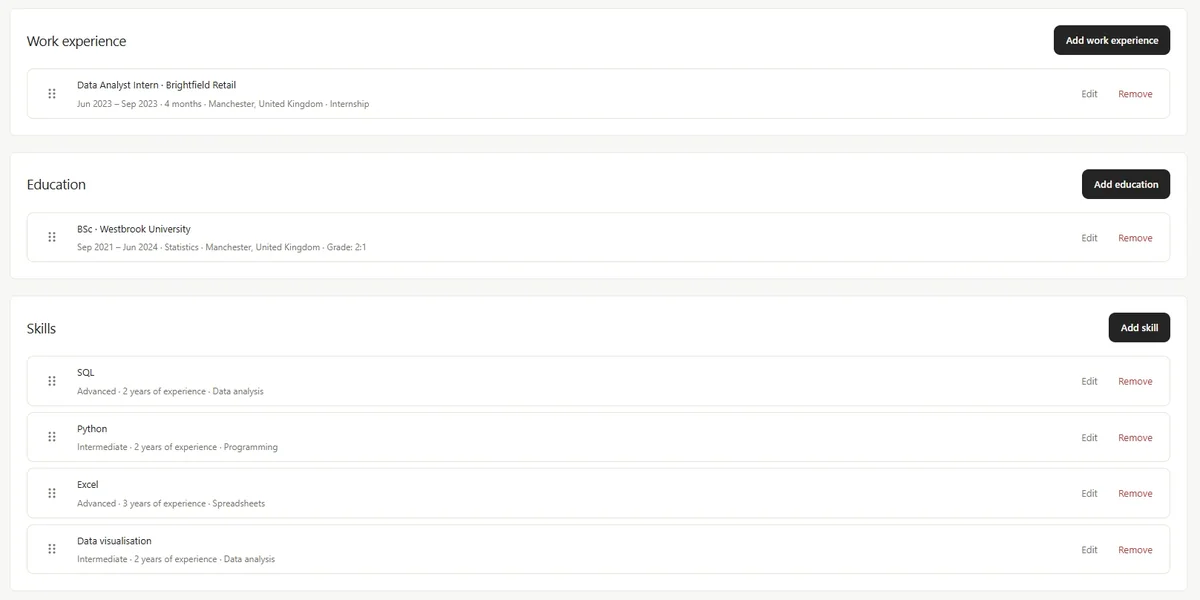
Add one skill at a time, or return later when you remember more. Each entry is listed with its level, experience and category.
Add work experience when you are ready
You can add work experience now or weeks later. It works the same way for internships, part-time roles and full-time jobs.
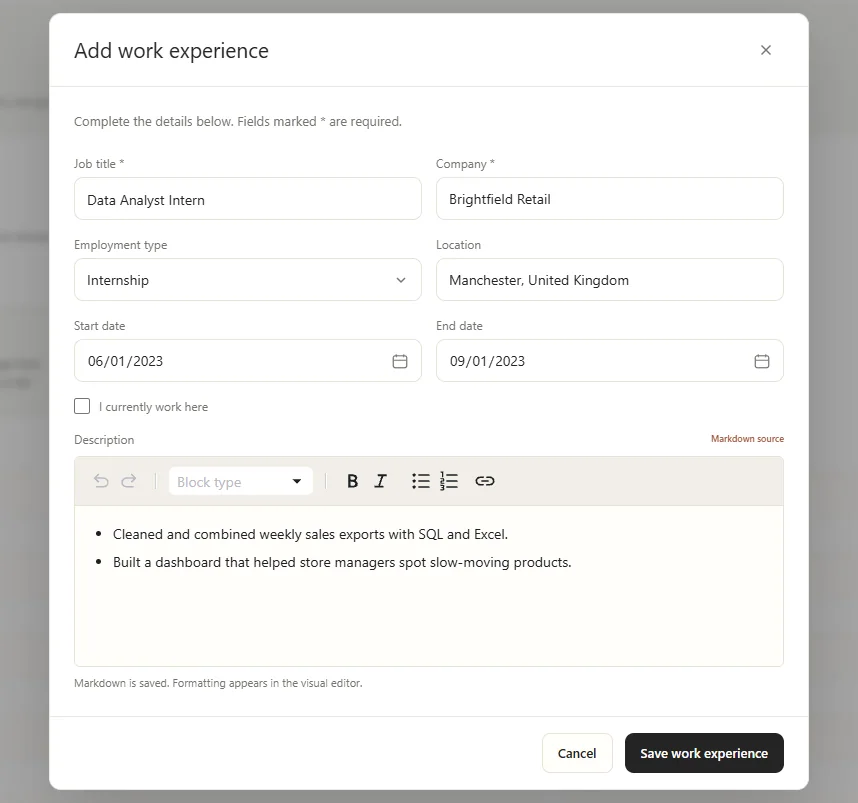
- In the Work experience section, select Add work experience.
- Fill in Job title and Company. These two fields are required.
- Choose an Employment type: Full-time, Part-time, Contract, Freelance, Internship or Temporary.
- Add the Location and Start date. Enter an End date, or tick I currently work here for your current role.
- Describe what you did in Description. Short bullet points that start with an action are easy to scan.
- Select Save work experience.
The entry appears in your profile with its dates, duration and location.
Add languages, certifications and projects
The remaining sections follow the same pattern. Select the add button, fill in the required field, and save.
- Languages: enter the Language and choose a Proficiency (Basic, Intermediate, Advanced, Fluent or Native).
- Certifications: enter the Certification name. You can add the issuing organization, issue and expiration dates, a credential ID and a credential URL.
- Projects: enter the Project name. You can add your role, a project URL, dates and a description.
Edit, reorder or remove entries
- Select Edit next to an entry to change it. The dialog is the same as for adding.
- Drag the handle at the left of an entry to change the order within its section.
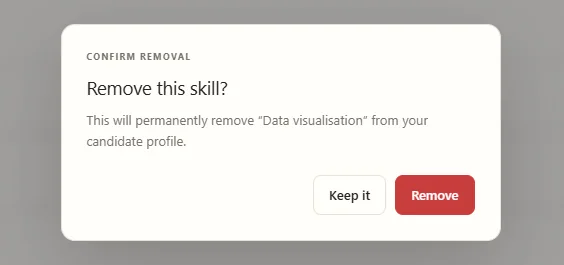
- Select Remove to delete an entry. CVizza asks you to confirm, because removing an entry from your candidate profile is permanent.
What CVizza copies into a CV
When you create a CV with Create from profile on the My CVs page, CVizza copies the following information into the new draft.
| Profile information | In a new CV |
|---|---|
| Name, headline, phone, Website and LinkedIn | Copied into the CV header |
| City, region and country | Combined into one location line in the header |
| Your account email, copied into the header | |
| About you | Copied as the CV summary |
| Work experience | Job title, company, location, dates and description |
| Education | Degree, field of study, school, location, grade, dates and description |
| Skills | Skill names only. Category, level and years of experience stay in your profile |
| Languages, certifications and projects | Copied as their own CV sections |
| Profile photo | Copied once as the CV photo. Only templates with a photo placeholder display it |
| GitHub and Portfolio | Not copied |
Which header details are shown depends on the template you choose. Blank fields stay blank, and you can edit everything in the CV editor without touching your profile.
Profile changes and existing CVs
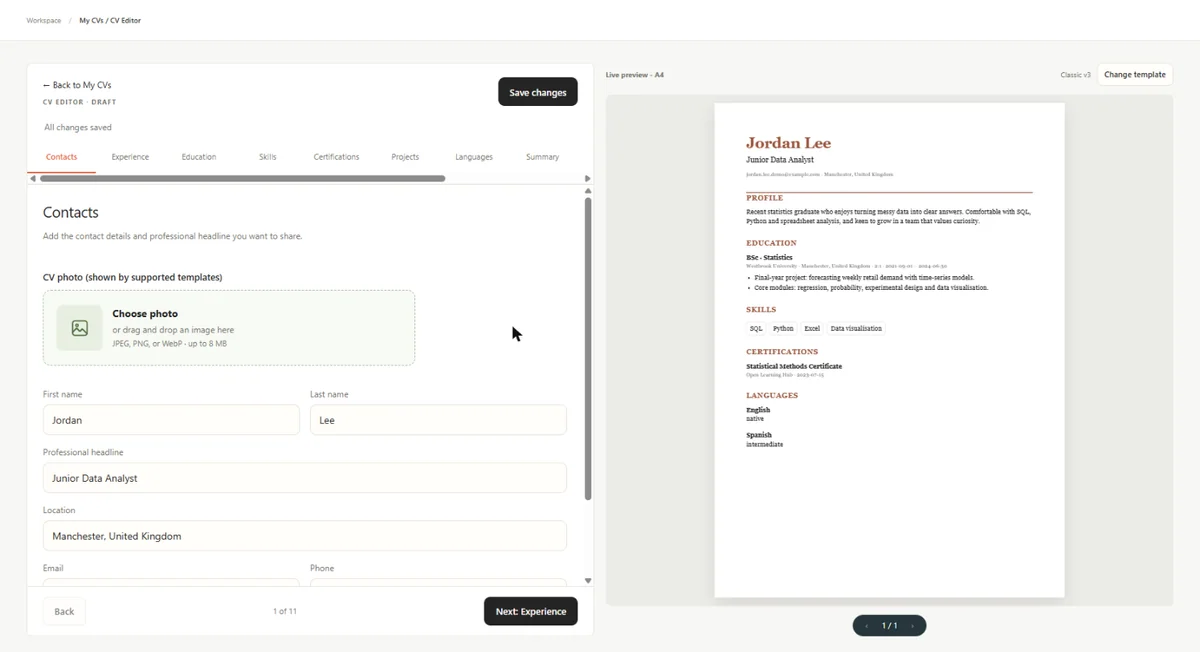
A CV is a copy taken at the moment you create it. Changing your profile later does not change CVs you already created, and editing a CV does not change your profile.
In the example below, a work experience entry was added to the profile after the CV was created. The CV's Experience step still shows 0 entries.
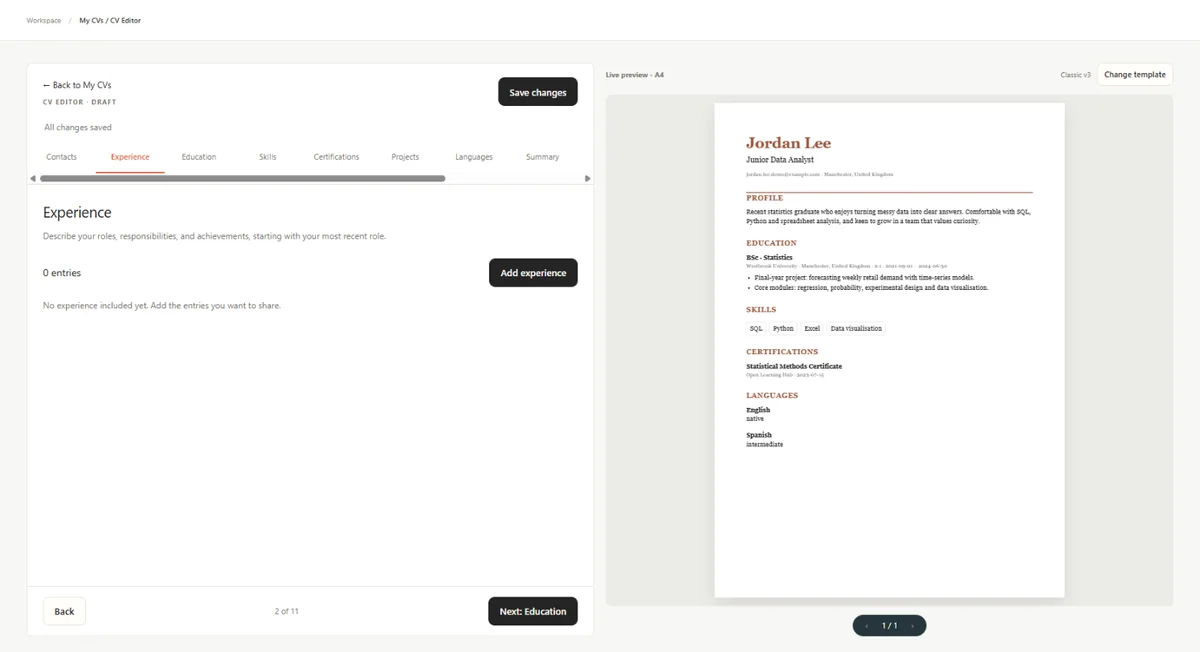
To use a new profile entry, either start a new CV from your profile, or add the entry in the CV editor with Add experience. Changes made there apply to that CV only.
Fill in your profile gradually
- Start with your name, headline and one section. You can create a CV from a small profile and complete it in the editor.
- Add new roles, skills and certifications as they happen, so your profile stays current.
- Keep the profile general. Tailor wording for a particular job in the CV, not in the profile.
- Review the profile before you create a new CV, because the CV copies whatever the profile contains at that moment.
What to do next
- Create your first CV from the Getting started guide.
- Browse designs on the CV templates page.
- Read how CVizza handles your data in the Privacy Policy.